
What to Pack for a Backcountry Trip: The Complete Checklist
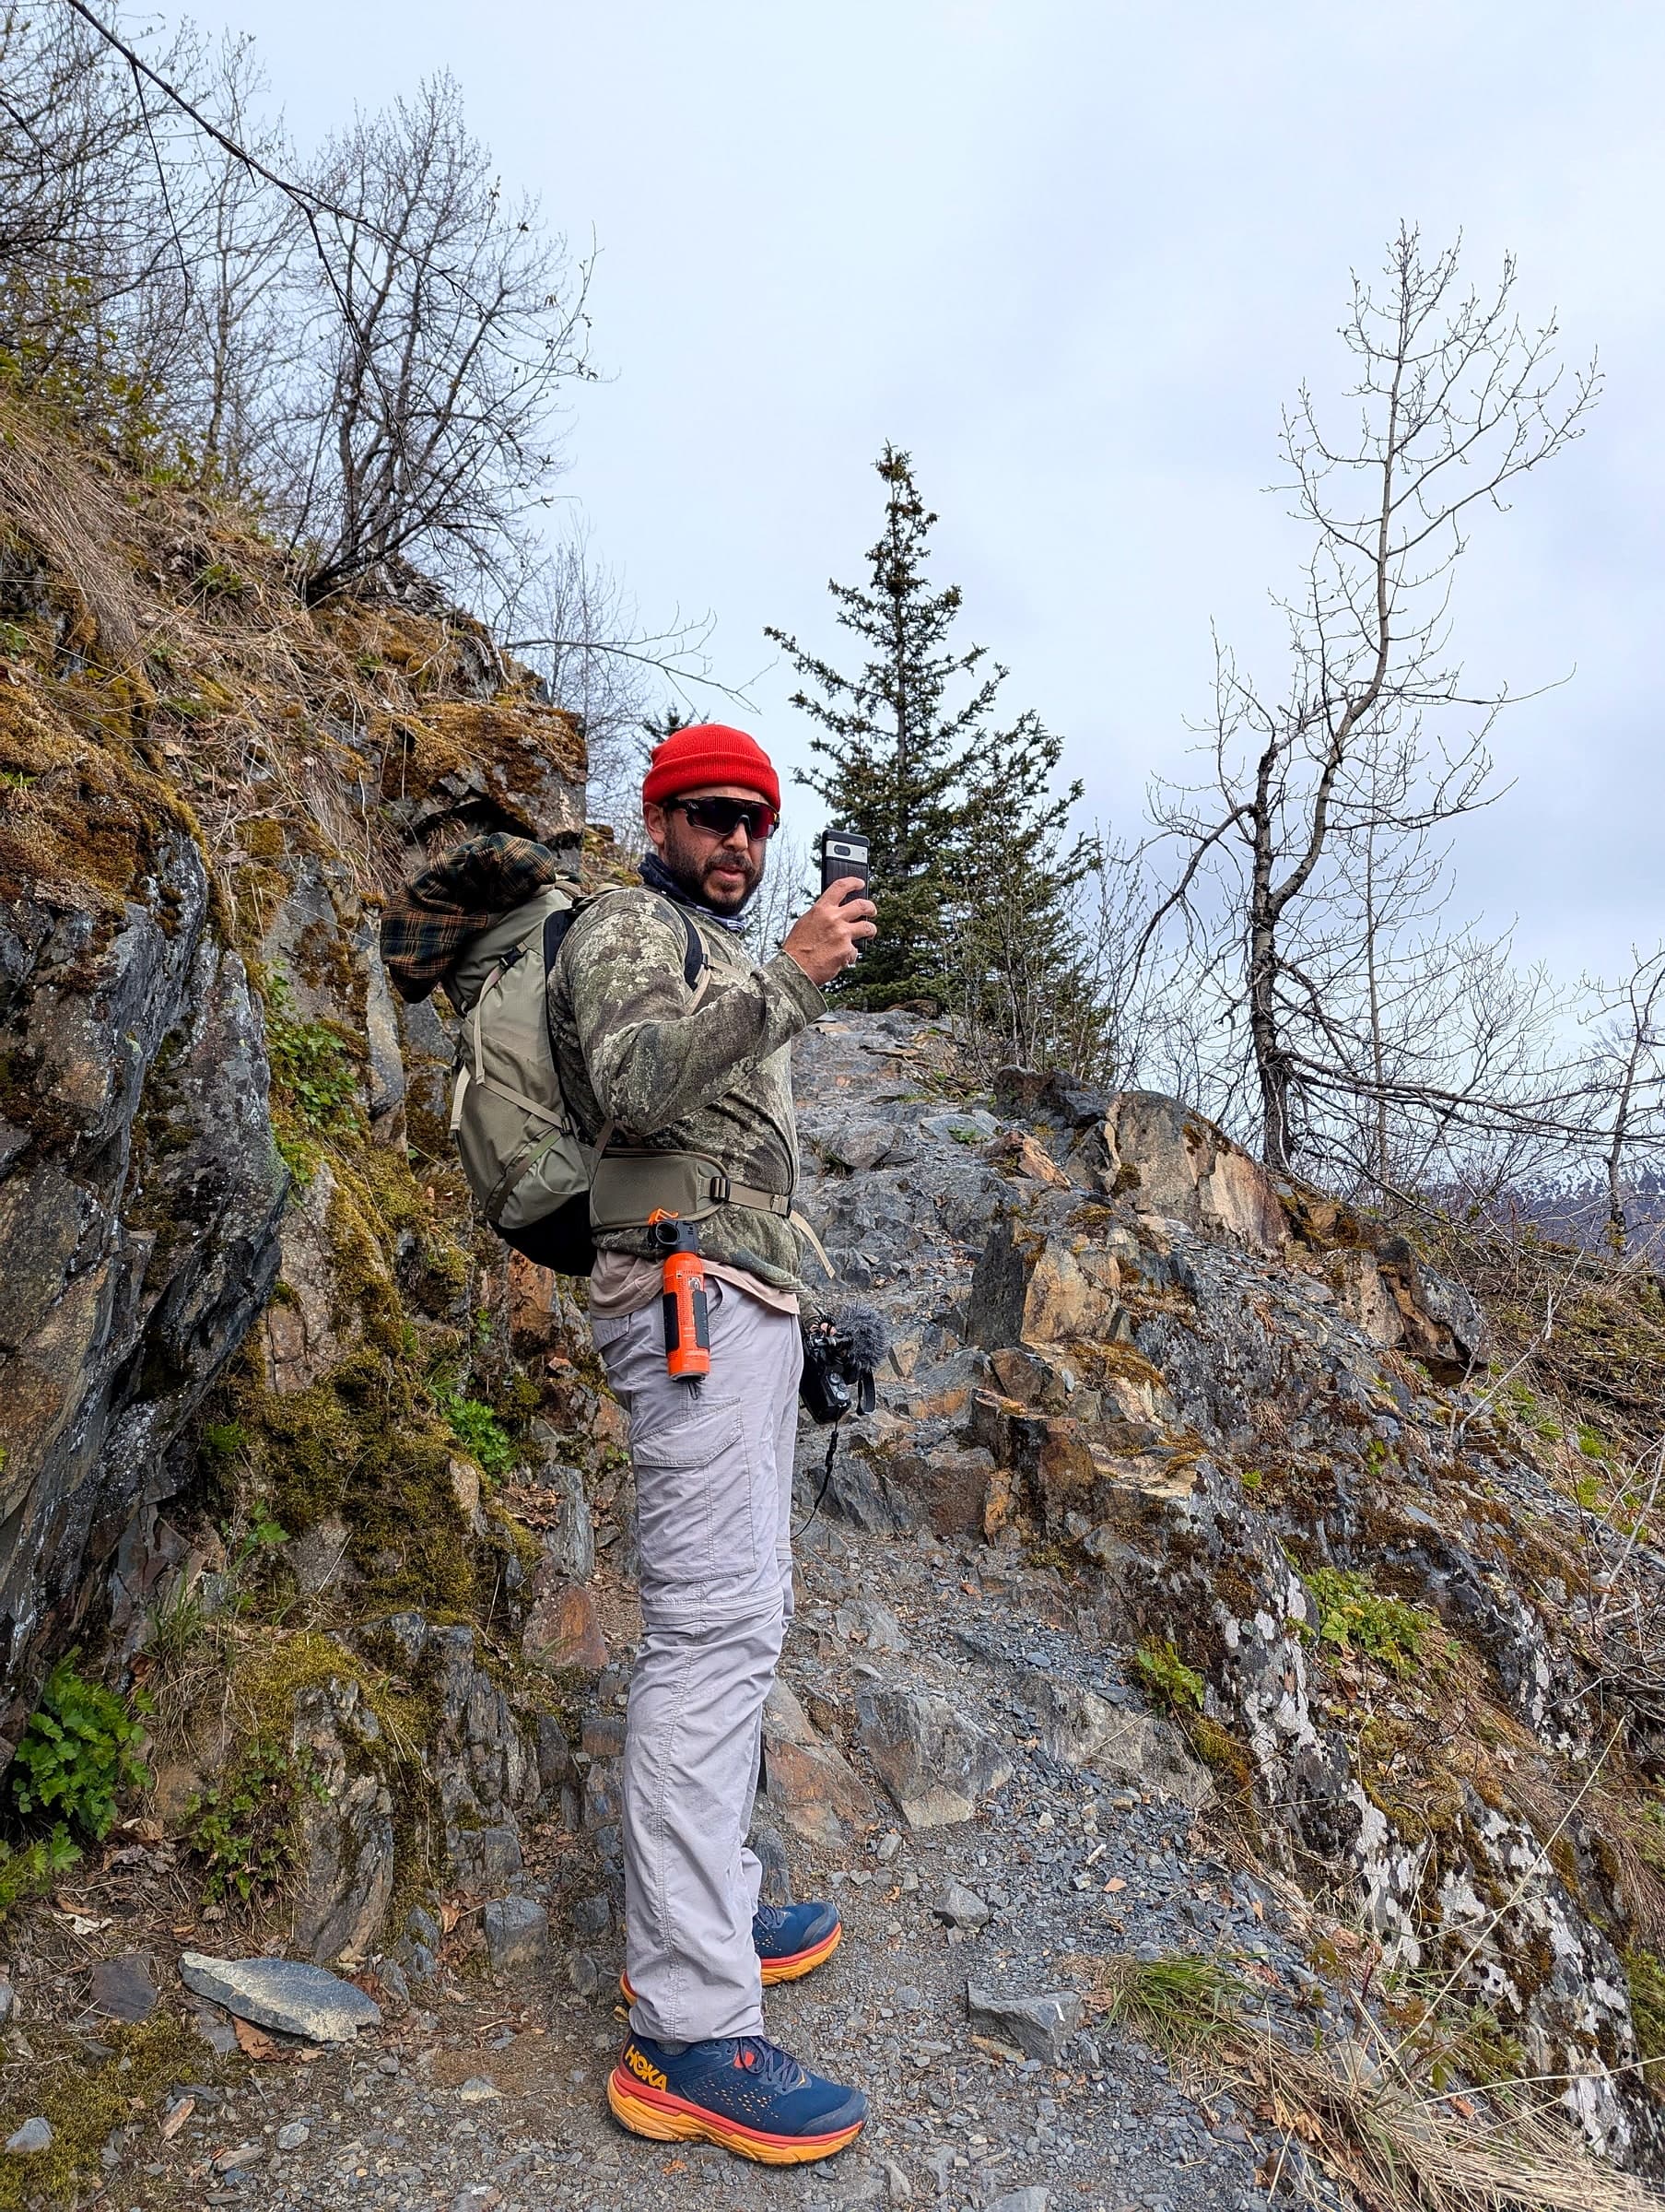
Backcountry camping means everything you need is on your back, and there's no camp store or car trunk to bail you out if you forget something. That makes the packing list itself the difference between a great trip and a miserable (or dangerous) one. Here's what actually matters, organized the way you'll use it on the trail. Most of this applies just as much to a long, all-day backcountry hike where you never pitch a tent, which is exactly the kind of trip we cover below.
Start with the Ten Essentials
Every backcountry list should build outward from the classic Ten Essentials: navigation, sun protection, insulation, illumination, first-aid supplies, fire-starting tools, a repair kit, extra food, extra water (or a way to treat more), and emergency shelter. None of these are optional line items you can skip to save weight. They're the difference between "annoying setback" and "search and rescue calls your family."
A few backcountry-specific notes worth calling out:
- Navigation means a physical map and compass, not just a phone app. Batteries die and signal disappears exactly when you need it most.
- Water treatment is non-negotiable once you're beyond day-hike distance from a trailhead. A lightweight filter or chemical treatment weighs almost nothing compared to carrying all your water in.
- Emergency shelter can be as simple as a $15 emergency bivy. It's the cheapest insurance in your pack.
Shelter and sleep system
Your tent, sleeping bag, and pad need to match the actual overnight lows for your trip's elevation and season, not the daytime forecast. Backcountry temperature swings are bigger than most first-timers expect. A warm afternoon at a Yosemite trailhead can still mean a below-freezing night once you've climbed a few thousand feet. Check the temperature rating on your sleeping bag against the coldest night you'll actually camp, not an average.
Food, storage, and cooking
Food weight adds up fast, so backcountry menus lean on calorie-dense, lightweight options: dehydrated meals, nut butters, and trail mix rather than canned goods or fresh produce. Just as important as what you bring is how you store it. Bear canisters or hangs are required in many backcountry zones (Yosemite's backcountry permits require one), and it's not just about protecting your food. An animal that gets a human food reward once will keep coming back, which is bad for the next camper and often fatal for the animal.
Clothing: layers, not bulk
Backcountry packing rewards a layering system over any single heavy item. A base layer, insulating mid-layer, and waterproof shell cover a much wider range of conditions than one bulky jacket, and they pack down smaller. Cotton is the one fabric to leave at home; it holds moisture and stops insulating the moment you sweat or it rains, which is a real hypothermia risk at elevation.
Permits, itinerary, and telling someone
Before you even load your pack: confirm your permit requirements (many backcountry zones, including Yosemite's, require a wilderness permit with a quota), and leave a detailed itinerary with someone who isn't coming: where you're starting, your planned route, and when you expect to be back. A satellite communicator (like a Garmin inReach) is worth the cost for backcountry trips beyond cell coverage; it's the fastest way to call for help if something goes wrong.
A real trip: the Harding Icefield Trail, Alaska
We didn't camp on this one, but it's the trip that best shows why a backcountry checklist still matters on a long day hike. The Harding Icefield Trail in Kenai Fjords National Park climbs about 3,000 feet over just over 4 miles, and the trailhead sign doesn't undersell it: it lists 6 to 8 hours round trip to the true end of the trail. With kids, our full hike took about five to six hours.
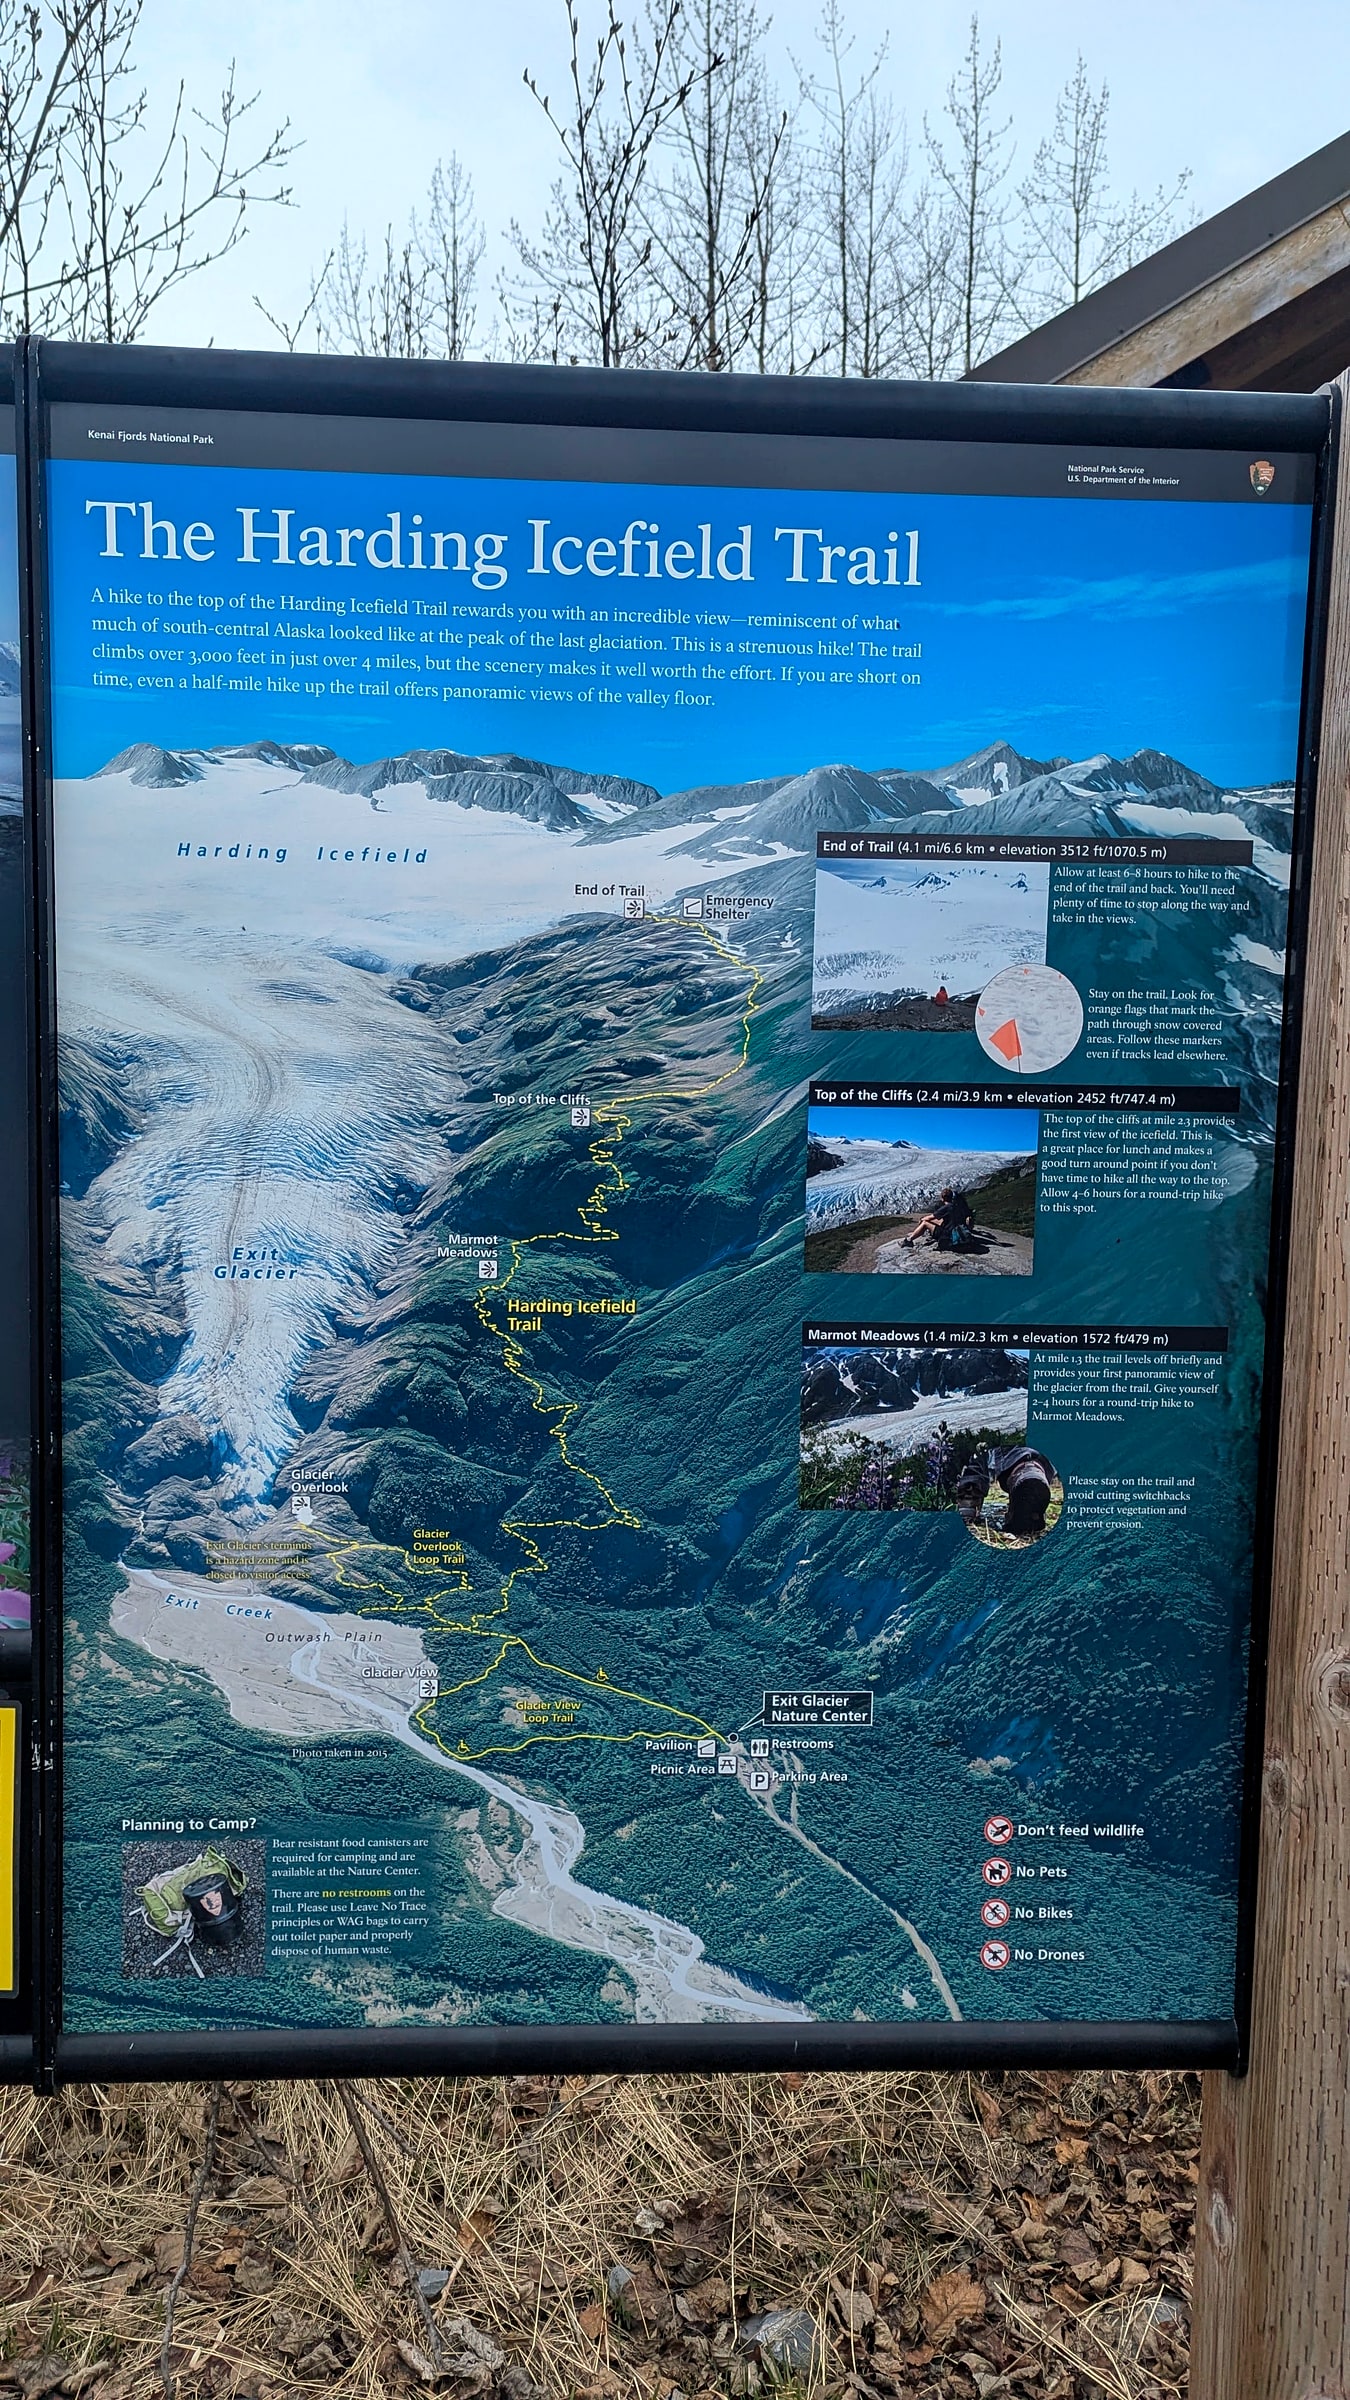
The trailhead sign at Exit Glacier. 3,000 feet of climbing in just over 4 miles to the true end of the trail.
We packed a lot of water, more jackets than felt necessary at the trailhead (including rain jackets), and two cans of bear spray, one for each adult, clipped where they were actually reachable instead of buried in a pack. Bears and moose are both common in this part of Alaska, and we wanted both of us able to react if something showed up on the trail, not just whoever happened to be carrying the one can.
The one thing we forgot was hiking poles, which mattered more than we expected on a trail that's mostly loose rock and root steps for the first couple of miles. We ended up picking up broken branches off the ground and using those instead, and it genuinely saved a lot of energy on the climb, enough that we'd call trekking poles a near-must for this specific trail rather than an optional extra.
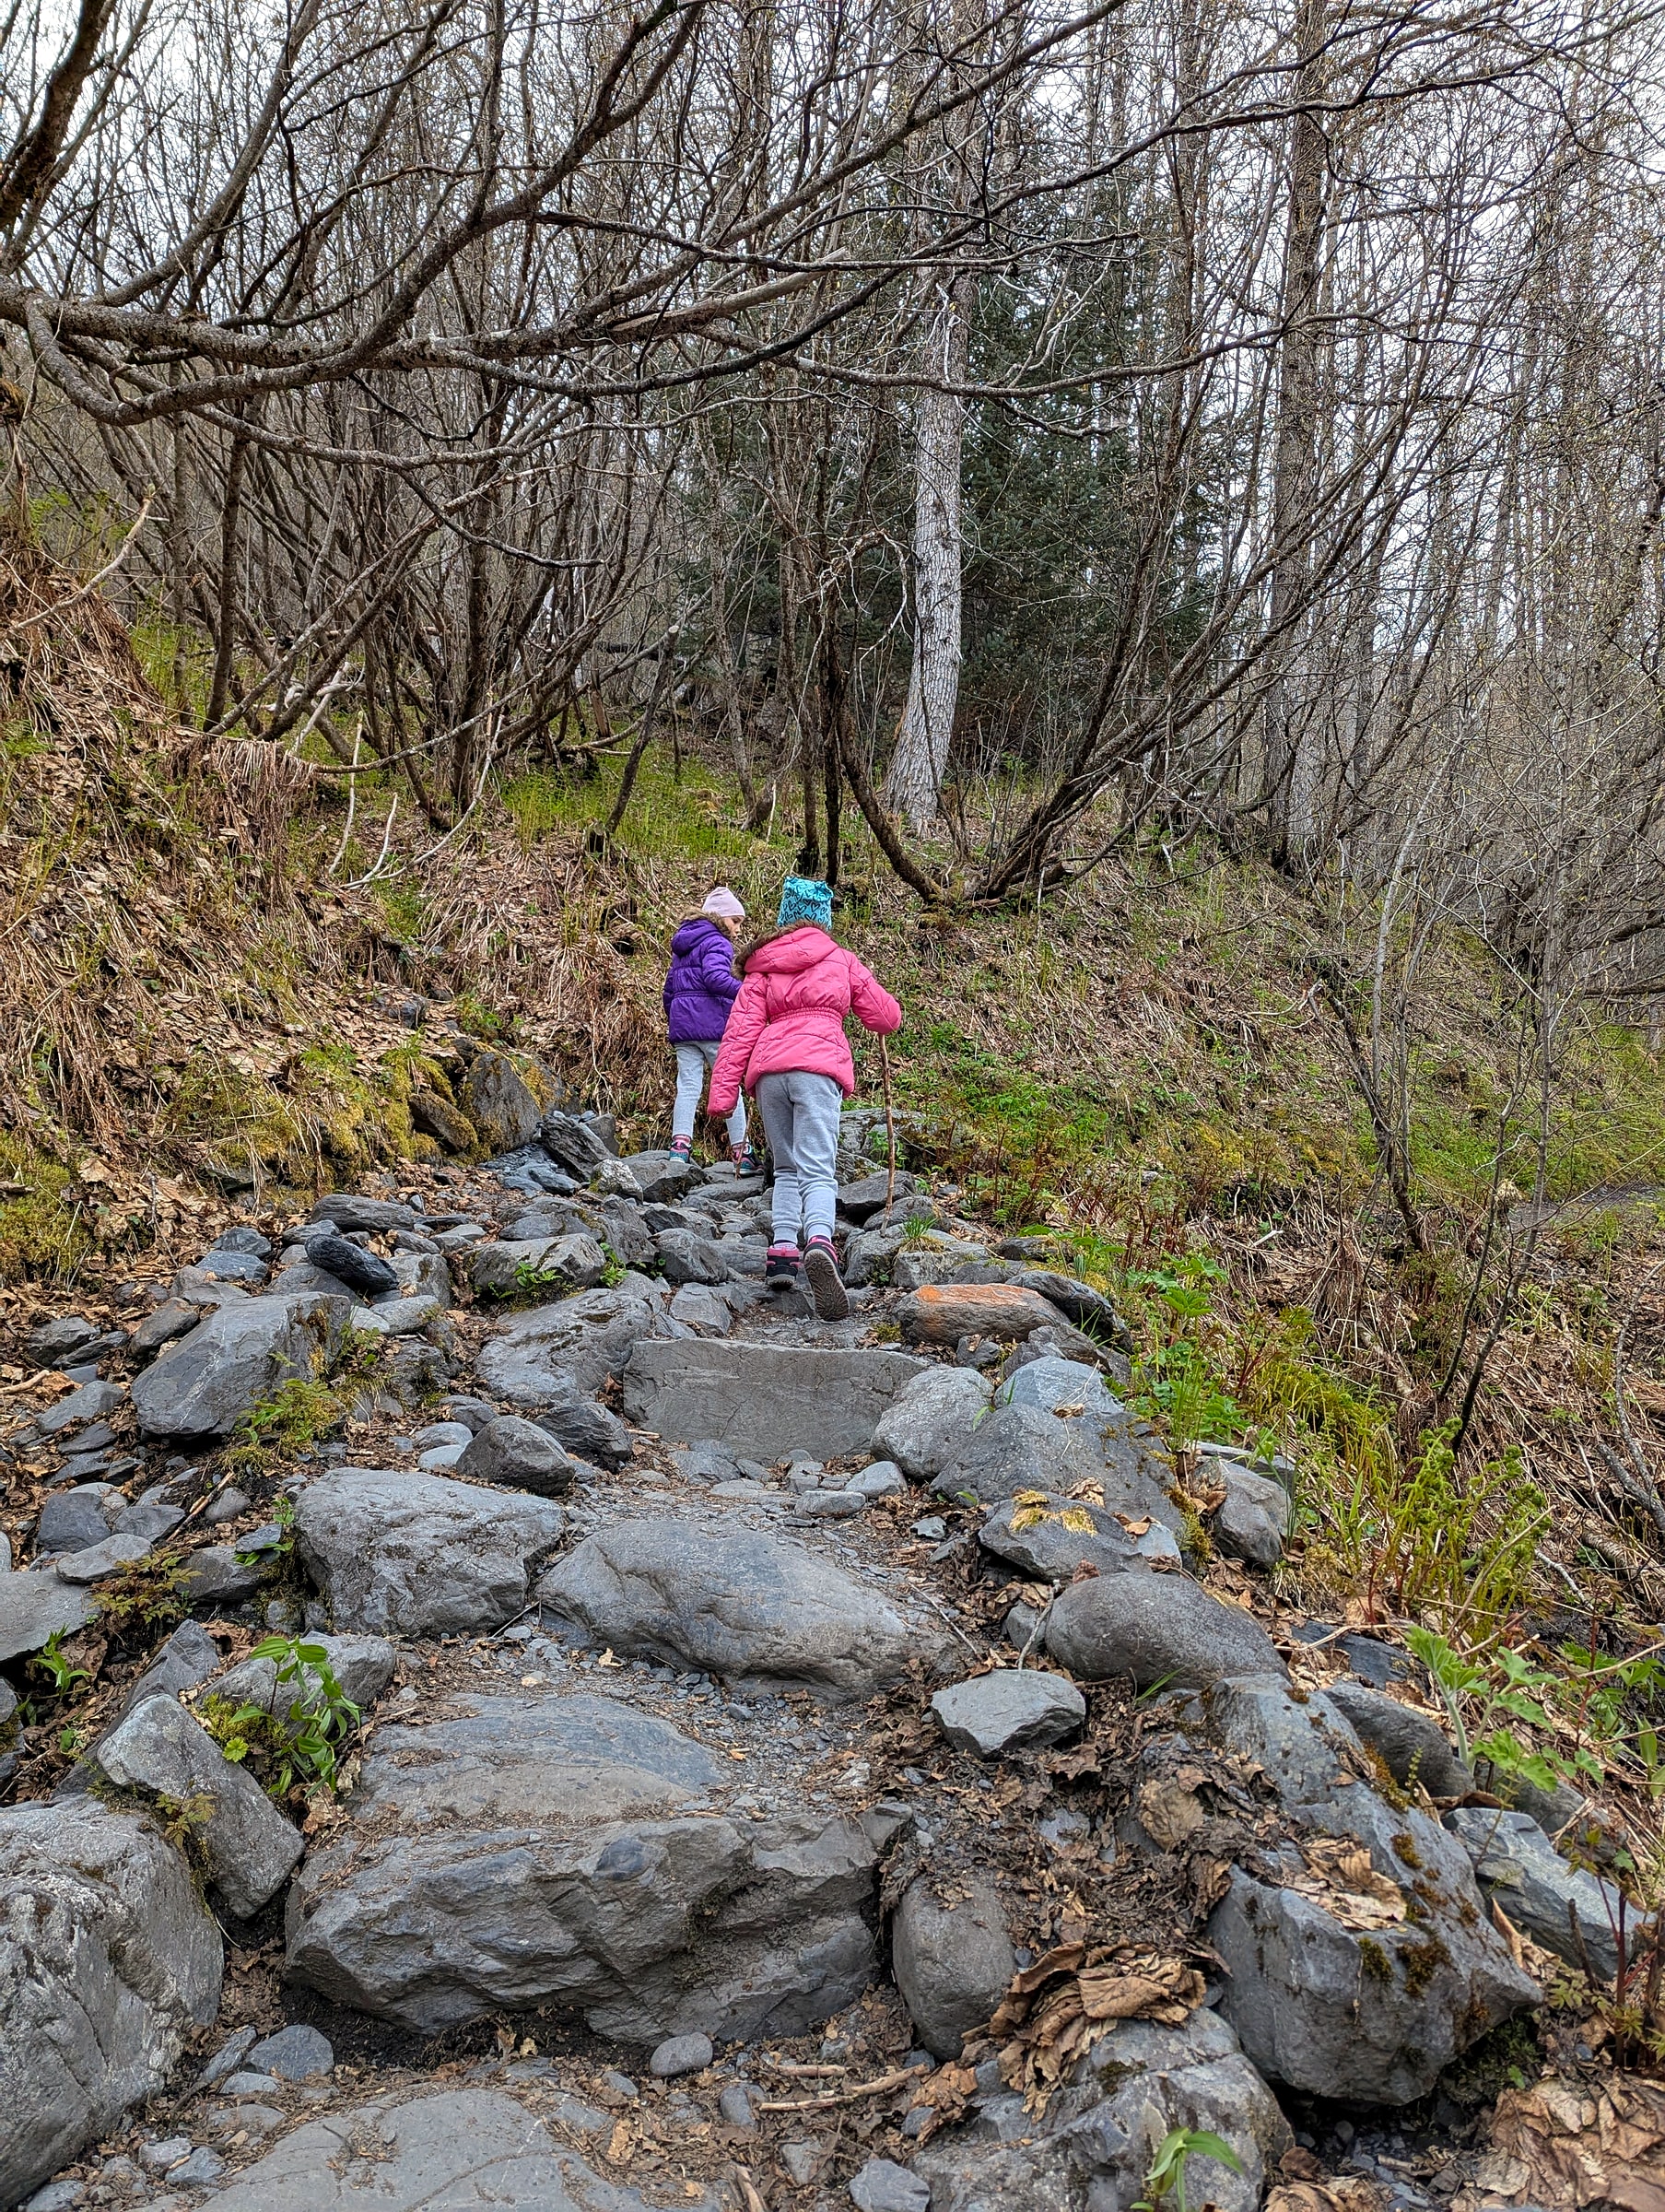
The lower trail is mostly loose rock and root steps, not a groomed path.
We went in late May, early June, and there was still a lot of snow up in the higher sections even though most of the day itself was clear and mild at the trailhead. We turned around at Marmot Meadows, about 1.4 miles in, where the trail levels off and gives you the first real panoramic view of the glacier. Past that point the trail heads into snow and terrain that really needs alpinist-type equipment we simply didn't have with us, and that's a reasonable turnaround point for most hikers, not just families with kids.
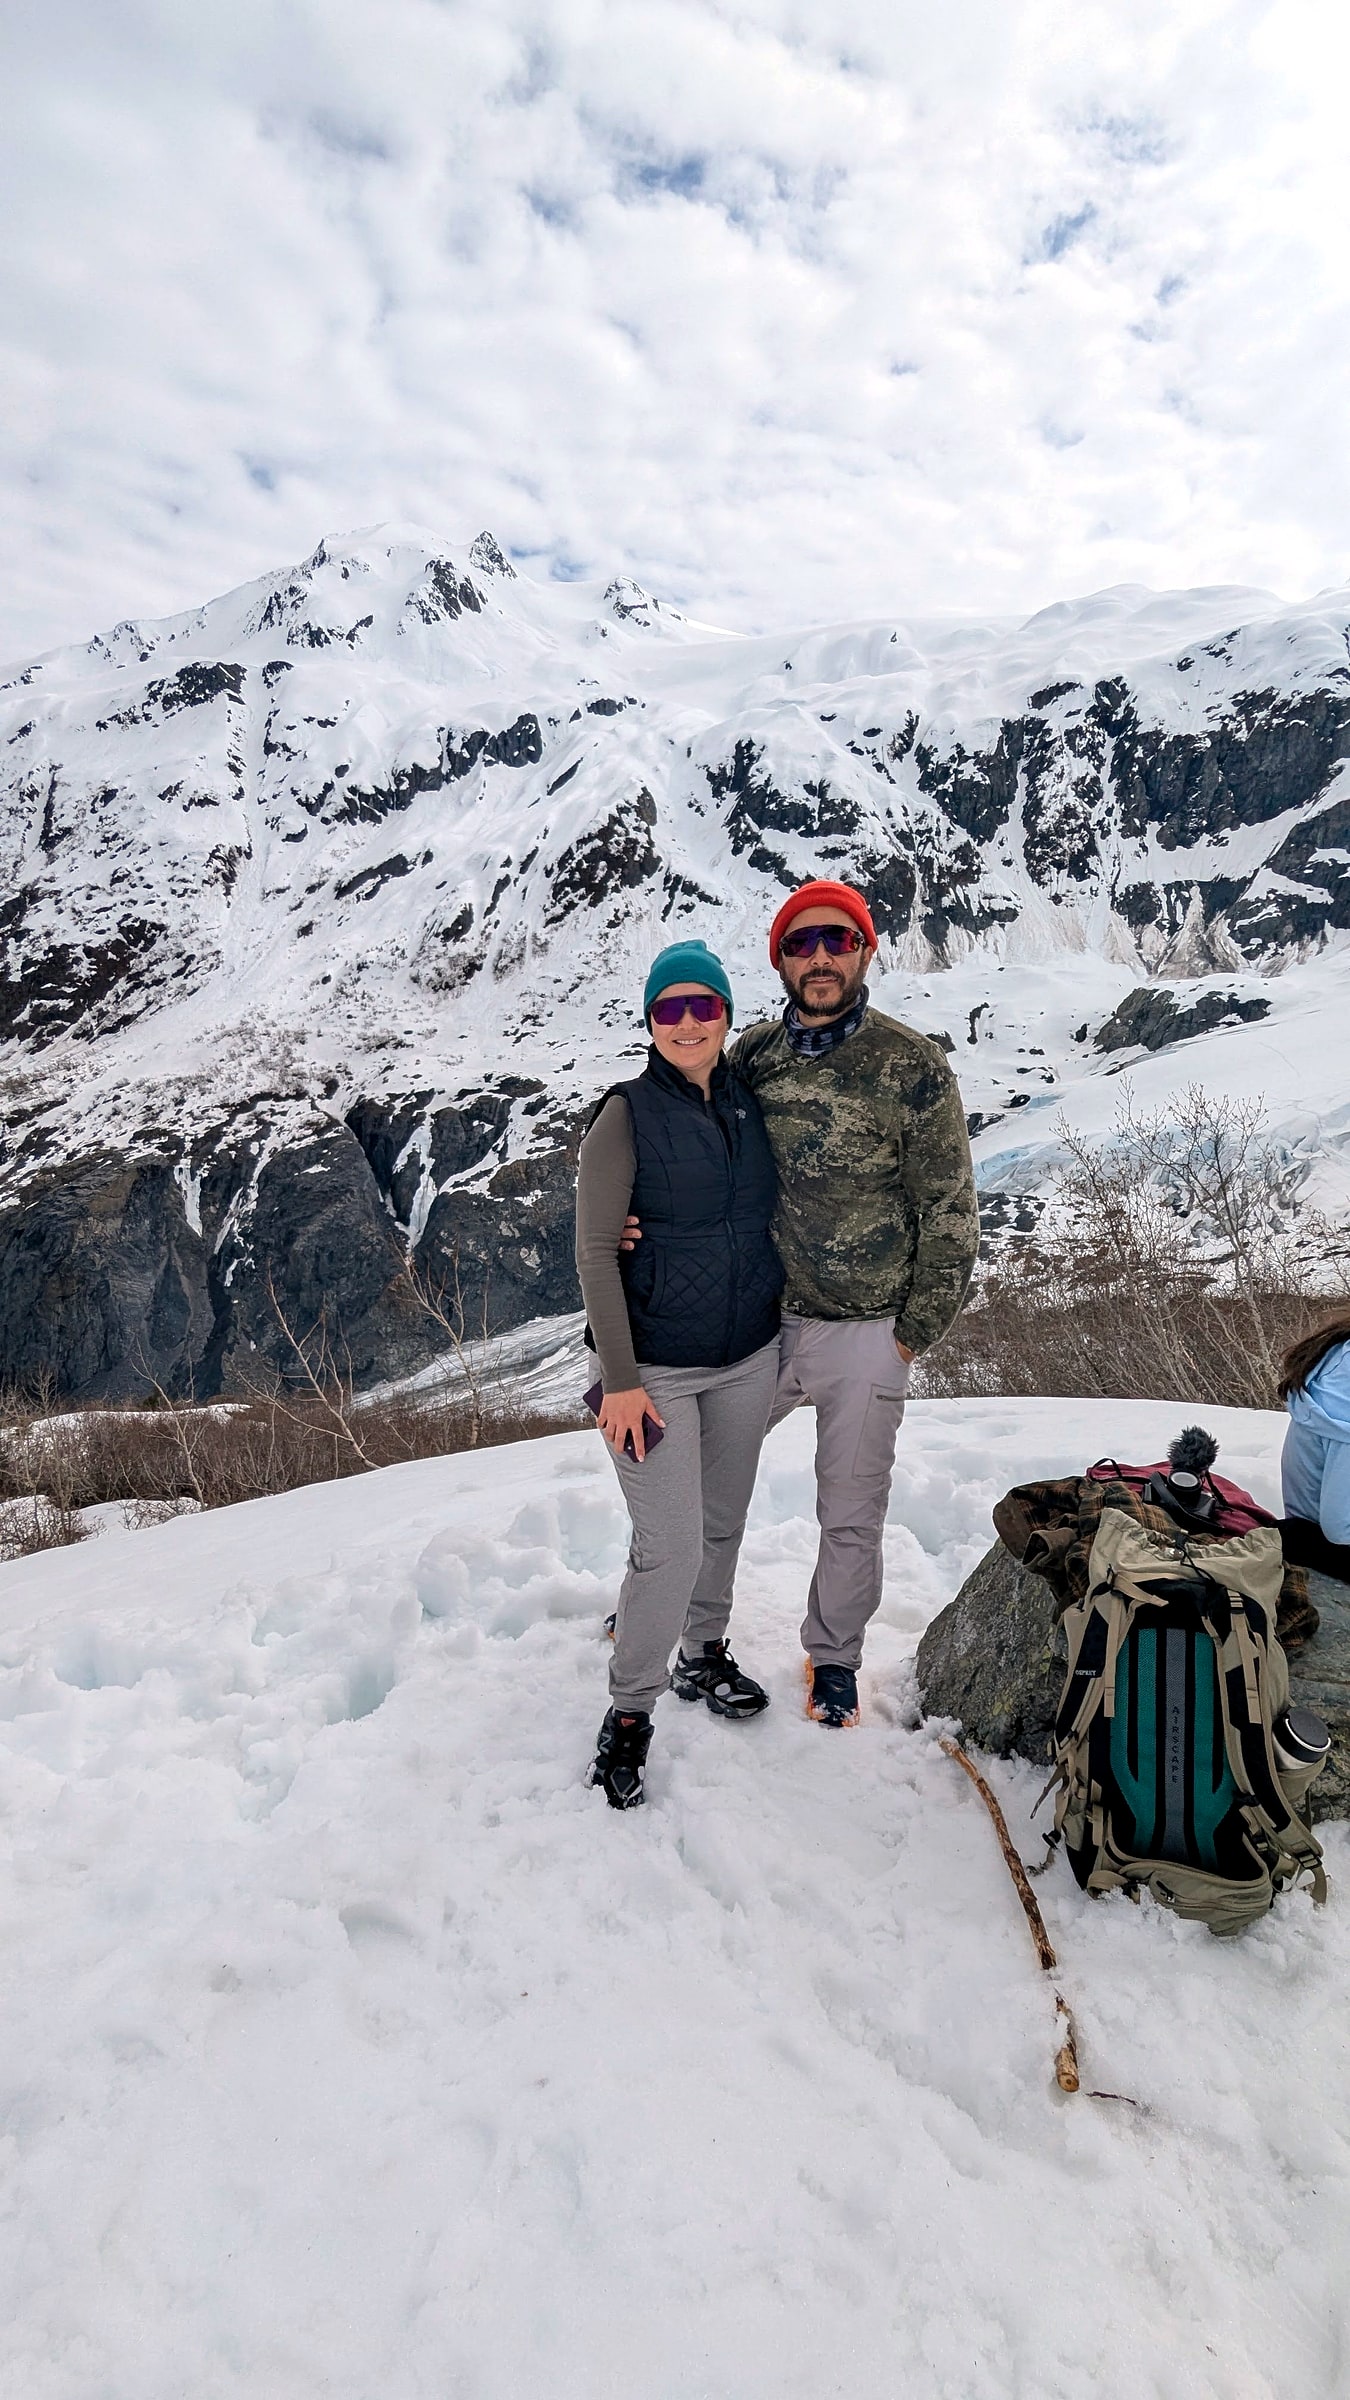
Marmot Meadows, where the snow starts and the trail stops being a simple hike.
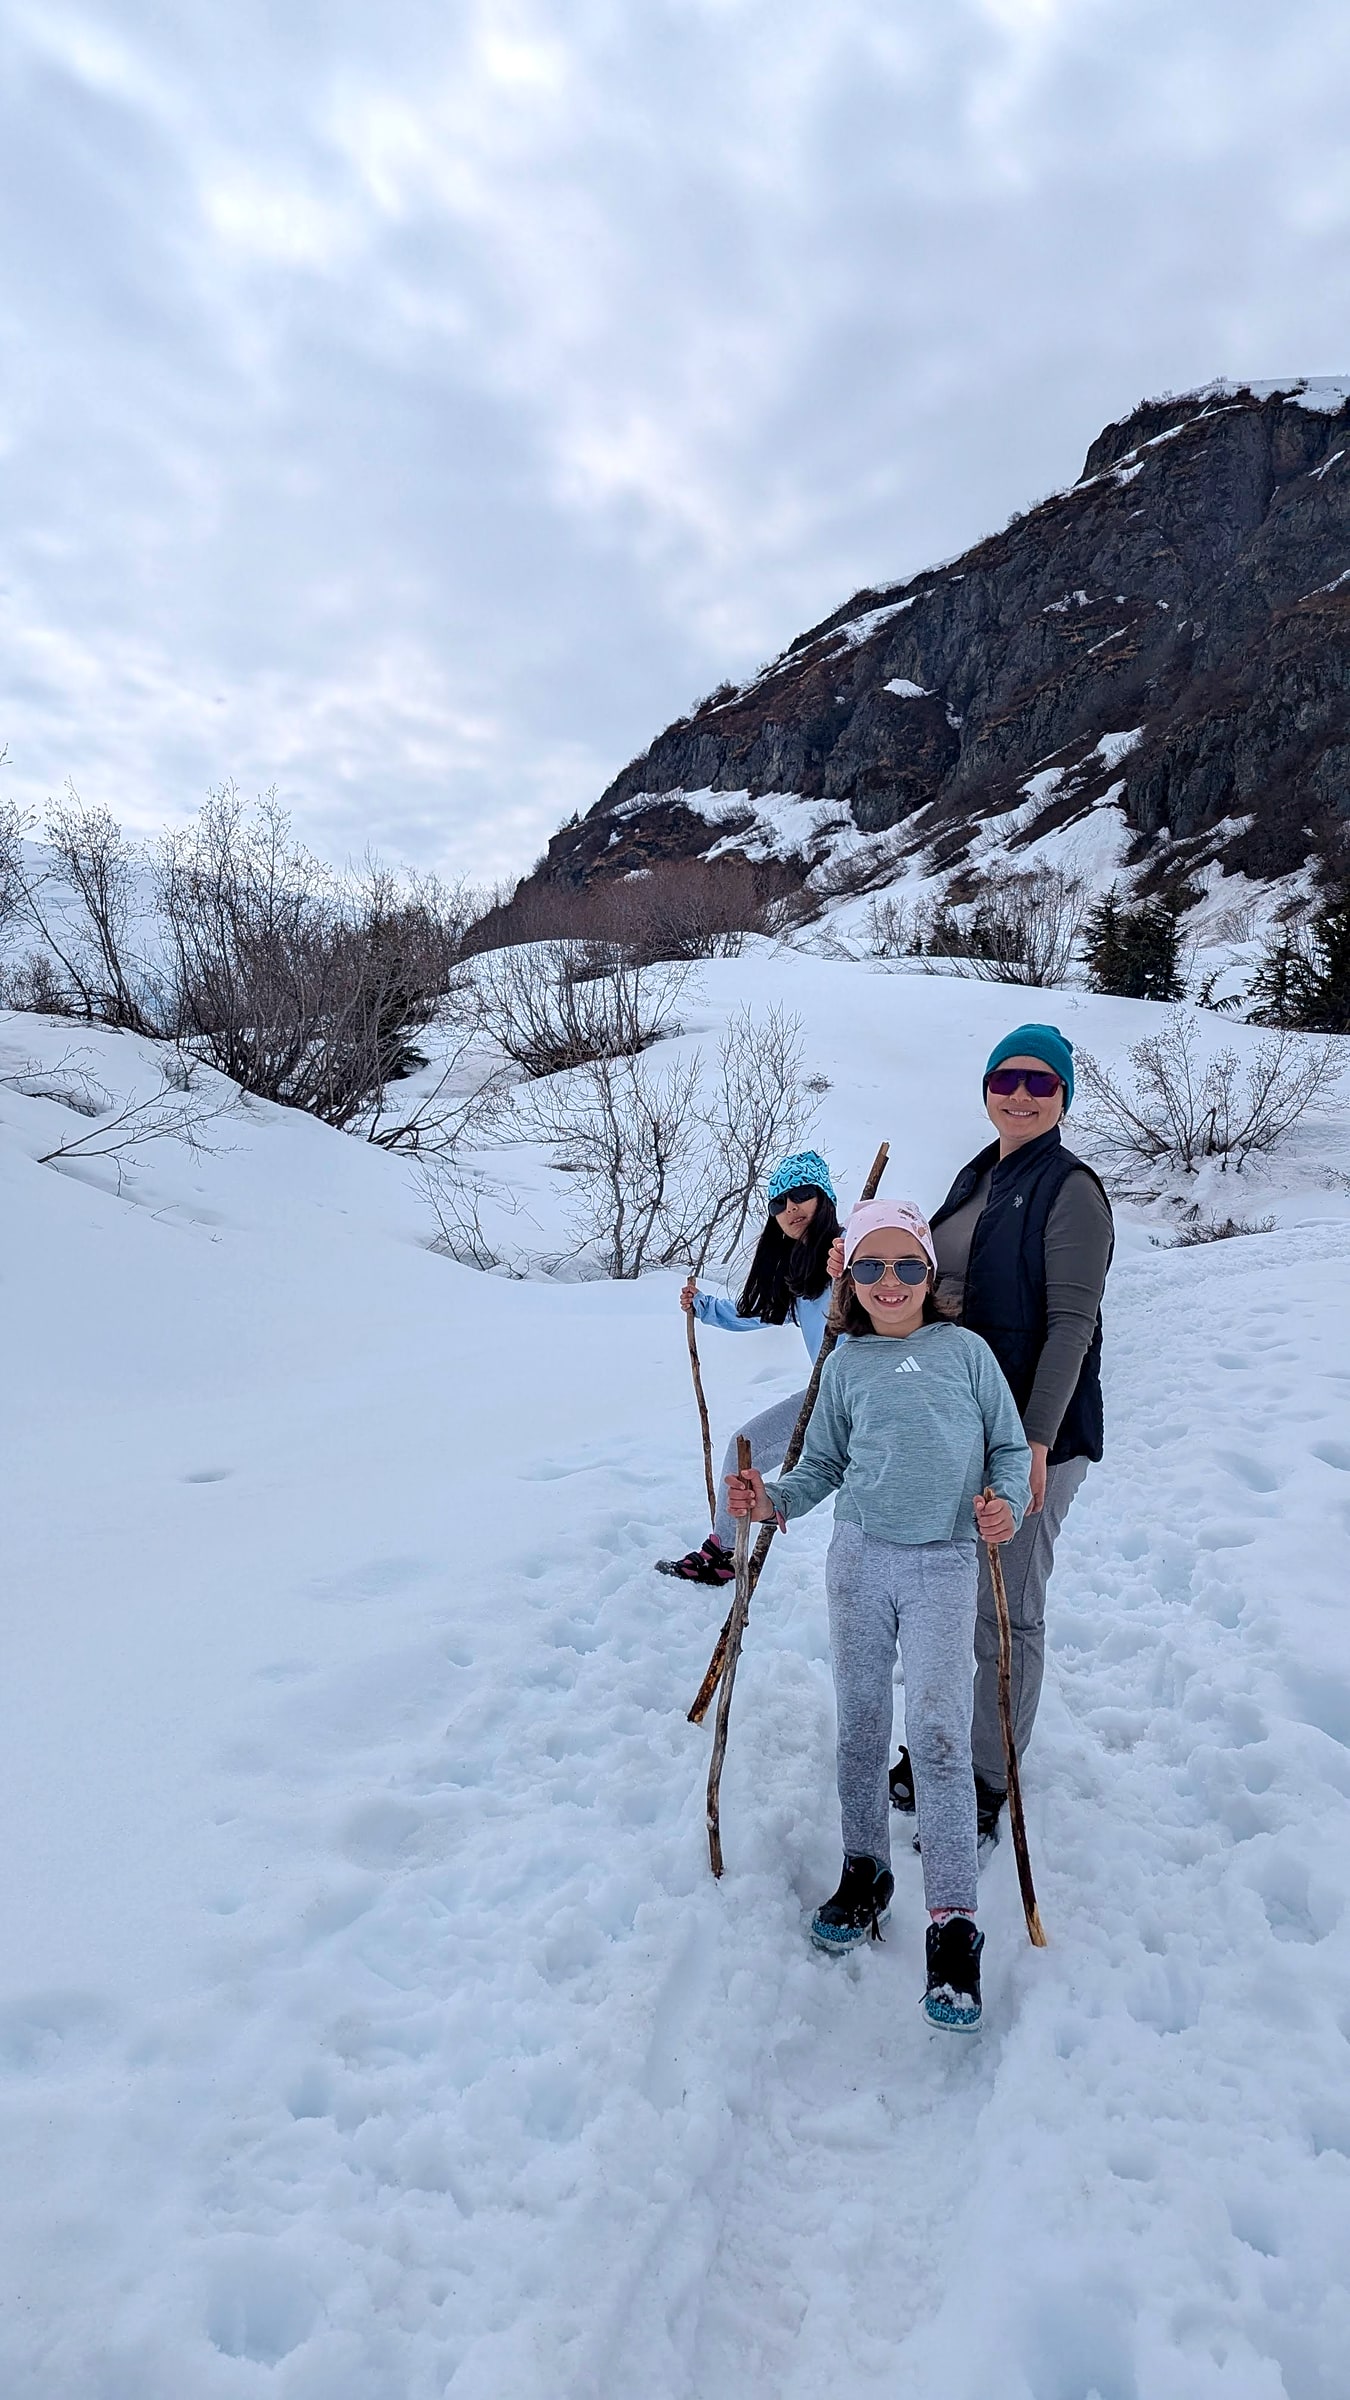
A broken branch standing in for the trekking poles we forgot to pack.
Build your list before you pack
Trying to hold a backcountry gear list in your head is how people end up re-buying a headlamp at 2am before a trailhead drive. Start a backcountry checklist in Camper's Checklist and it'll pre-fill the gear that matters for backcountry conditions specifically (water treatment, bear storage, navigation) instead of a generic camping list that assumes you have a car parked ten feet away.